Category: Science experiments
-

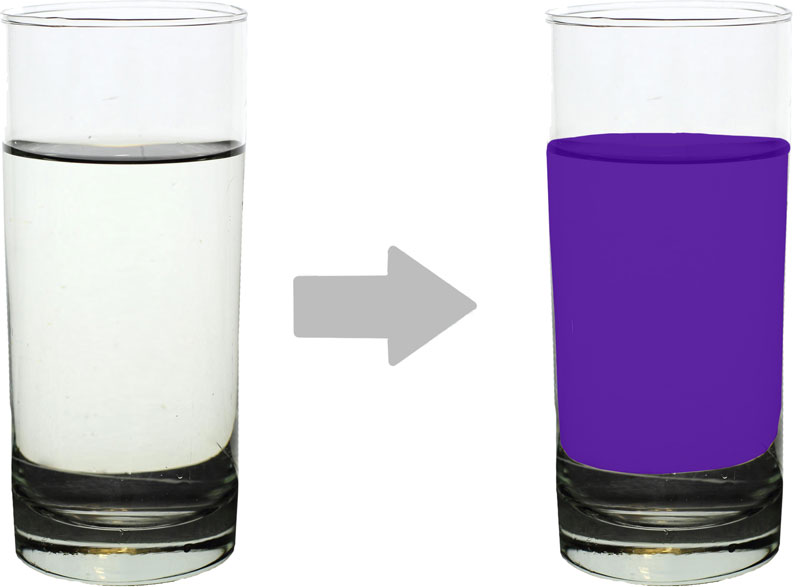
Color Changing Liquid
Color changing liquid is one of the most interesting magic tricks behind which lies the principle of science. This experiment demonstrates a clock reaction in the chemistry in which a clear liquid suddenly changes its color to dark blue. The time to turn a clear liquid into a dark blue […]
-

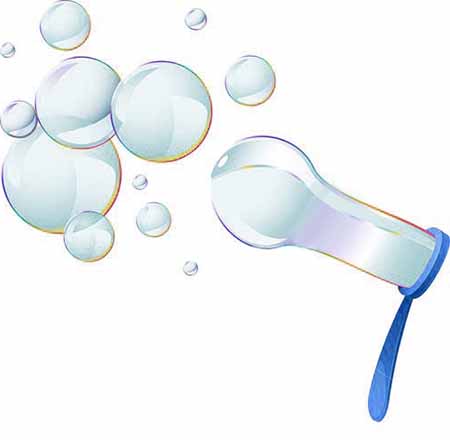
How to Make Soap Bubbles
Soap bubbles are one of the most interesting activities of childhood. Let’s make soap bubbles at home with the materials from the kitchen. You will learn how to make a soap bubbles solution and the wand to blow bubbles. Find out! How bubbles work and tips for long lasting bubbles. […]
-

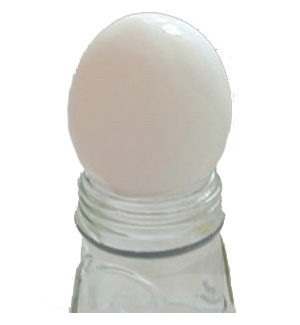
Egg in a Bottle
Egg in a bottle is an easy-to-do classic activity, which you can perform in your kitchen. In this activity, a hard-boiled egg (peeled) is set on the mouth of a bottle and egg is sucked in the bottle magically (actually scientifically). You will learn how pressure difference can cause push […]
-

How to Make Hoop Glider
You have probably seen planes; all with flat wings. But, have you seen anything flying with curly or round wings. Can a curled wing plane fly in the air? Let’s do an experiment to find out what will happen if we replace the flat wings of a plane with hoops. […]
-

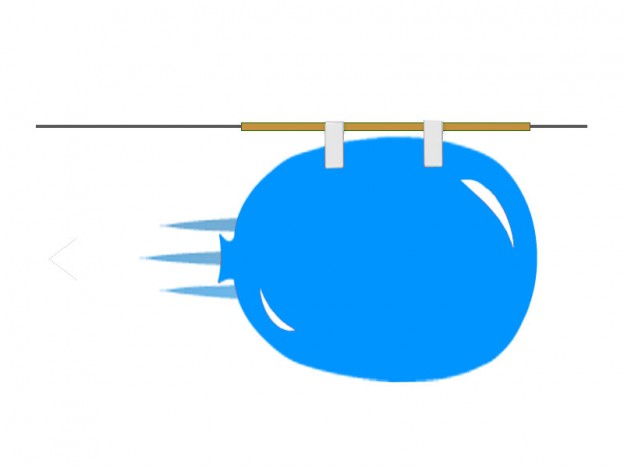
How to Make a Balloon Rocket
Balloon rocket is a simple science experiment to understand the newton’s third law. Which states that, “Every action has reaction”. You will build a simple rocket out of a balloon and a straw that will slide over a string by producing thrust. Precaution: Always wear safety goggles and hand gloves when […]